










With his photos and advice, Fred shows us how to create a design with a paint marker, from the large areas to the...
Stenciling Your HEMA Mask: A Step-by-Step Tutorial
Amidst the black masks laid at the edge of the room, yours can tell a story beyond just size and brand. A crest, a shape you like, a nod that others will recognize: sometimes it takes little to give your equipment a personality.
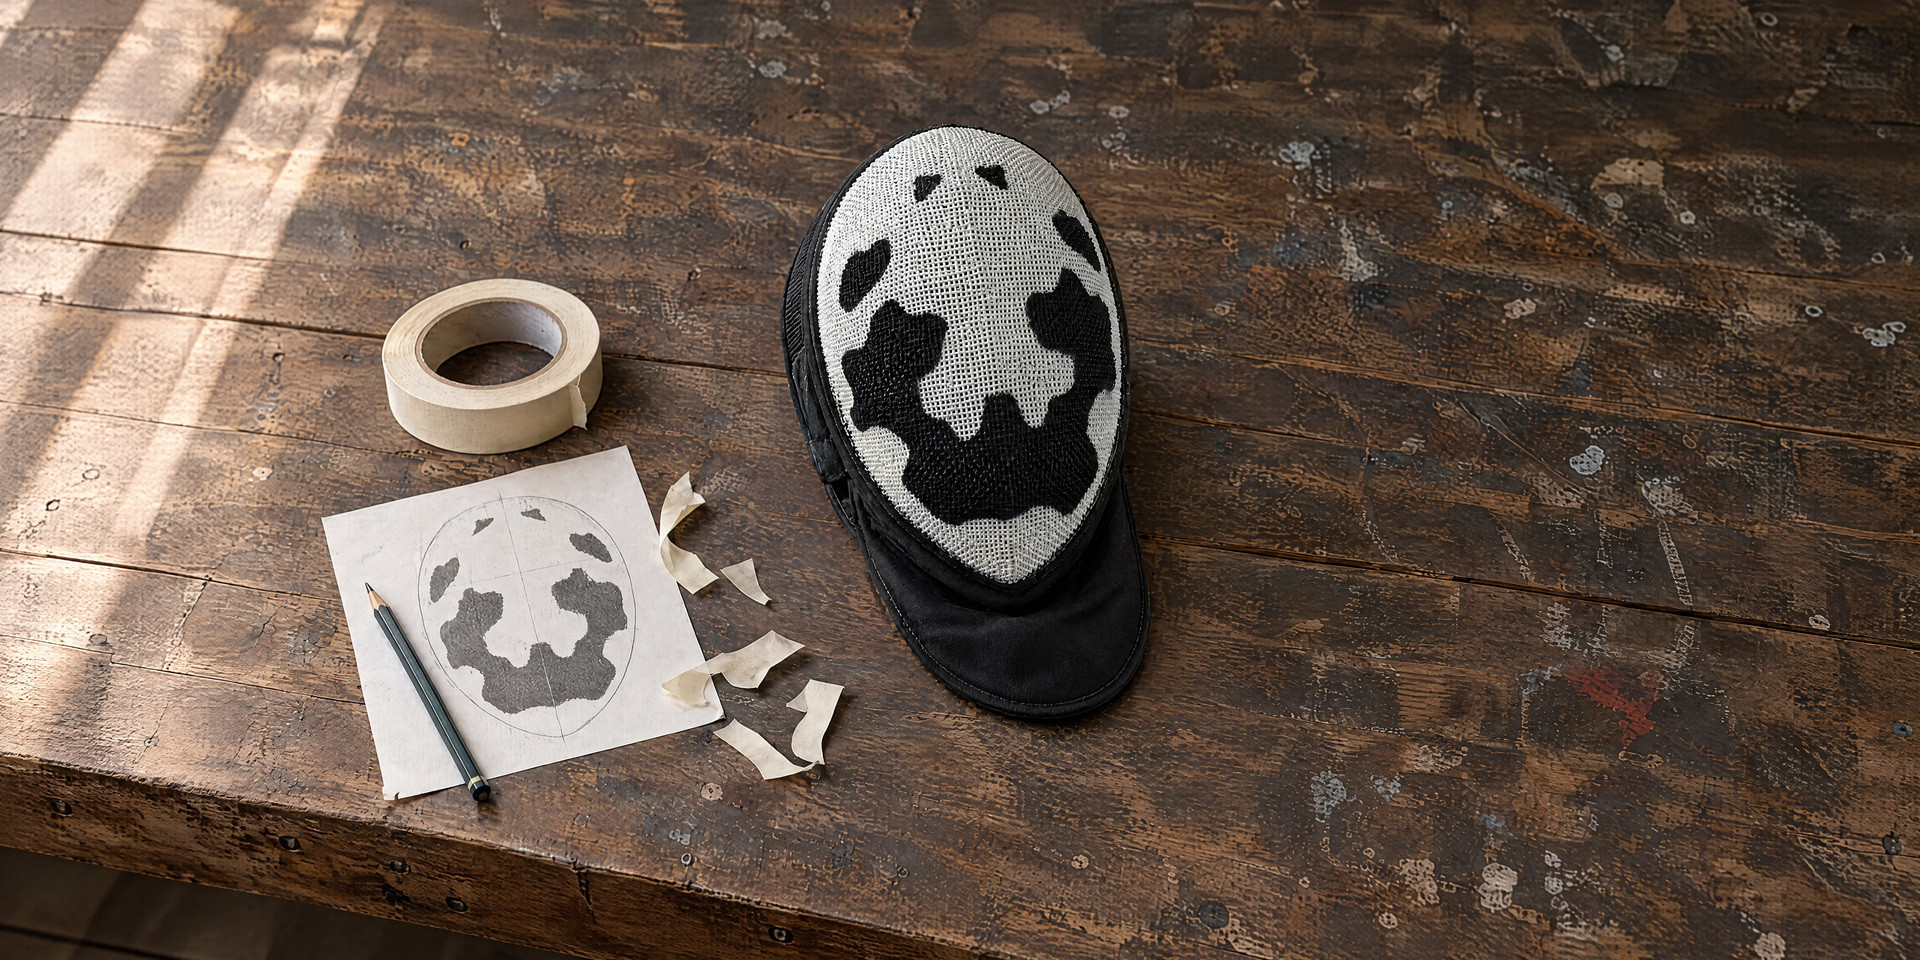
The stencil is a good starting point for a drawing with clear outlines. Michel Vollaro shares his method and photos of his creation here: a clear grid on which a black pattern stands out. We will follow the path from sketch to tape removal.
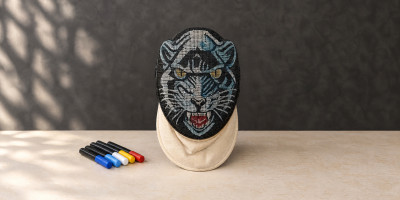
Do you envision multiple colors, shadows, and small details? Our tutorial for painting your mask with Posca markers presents another way to proceed.
The principle of the stencil
The paint reaches the uncovered areas; the tape protects those that should retain their color. In this example, the black parts of the pattern remain masked while Michel paints the background white. Take the time to check this "negative" before using the spray.
What to check before starting
The project focuses on the exterior of an intact mask's grid. Check with its manufacturer that this customization and the intended paint are suitable for the model. A damaged coating, a deformed grid, or a fastening defect should be addressed before any decoration: the paint should not conceal damage.
The bib, padding, straps, and markings must remain protected. The inside of the grid should not receive paint, and its openings must remain clear. If you are participating in a tournament, also consult the organizer's requirements before choosing your design.
Materials to gather
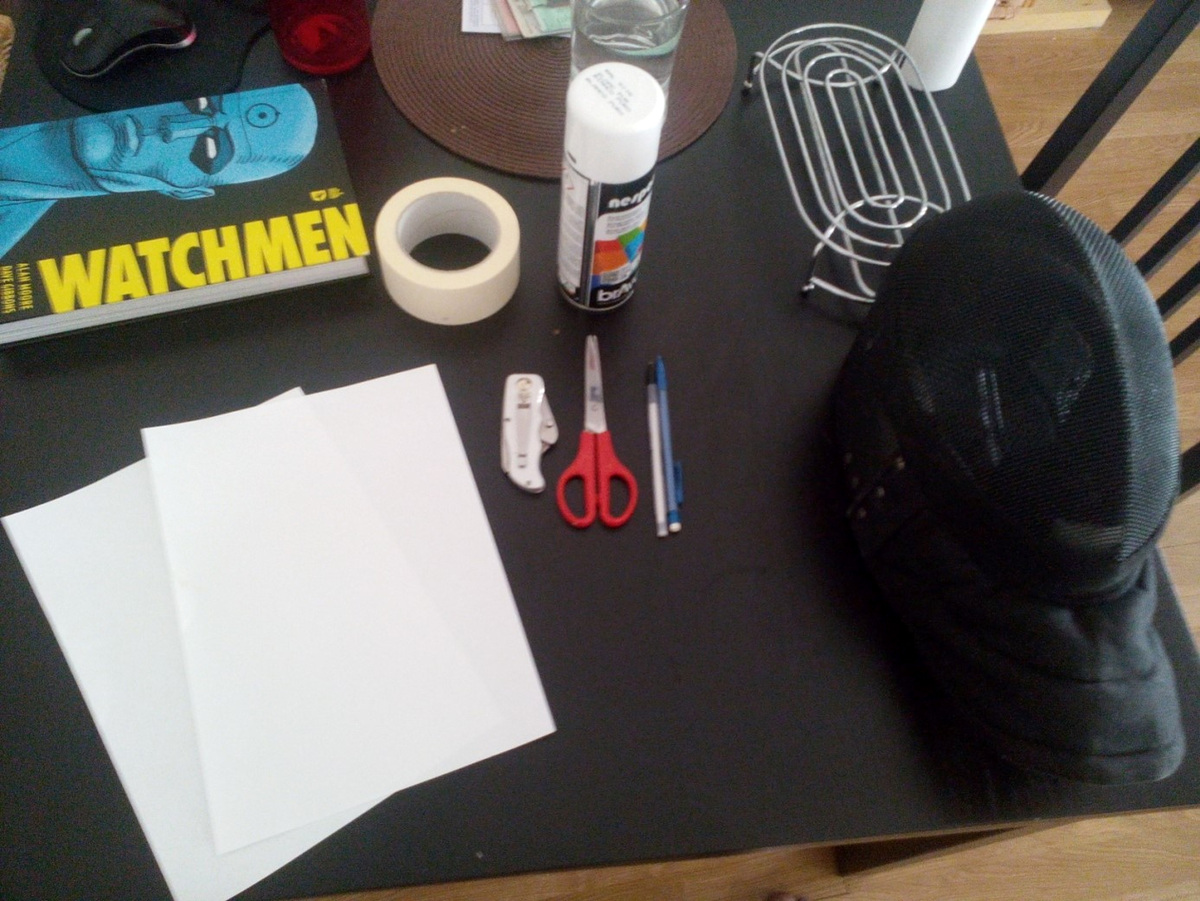
The materials gathered by Michel before preparing his design.
Prepare your workspace
A few tools, and above all, time on your hands
- Your mask and its instructions.
- Two sheets of paper, a pencil, and optionally a marker for outlines.
- Painters' masking tape, wide enough and compatible with the coating.
- Scissors, a cutter, and a cutting mat.
- A spray paint compatible with the grid and its coating.
- Paper and protections for the mask and the workspace.
The indications "metal" or "all surfaces" are not enough to validate a paint for every mask. Follow the product instructions for preparation, spraying, protective gear, and drying.
Set up in a place suitable for spraying, well-ventilated, away from flames and heat sources. Also, plan a spot where the mask can dry peacefully. An impromptu workshop five minutes before heading to the club might be a bit ambitious.
From drawing to painted mask, in eight steps
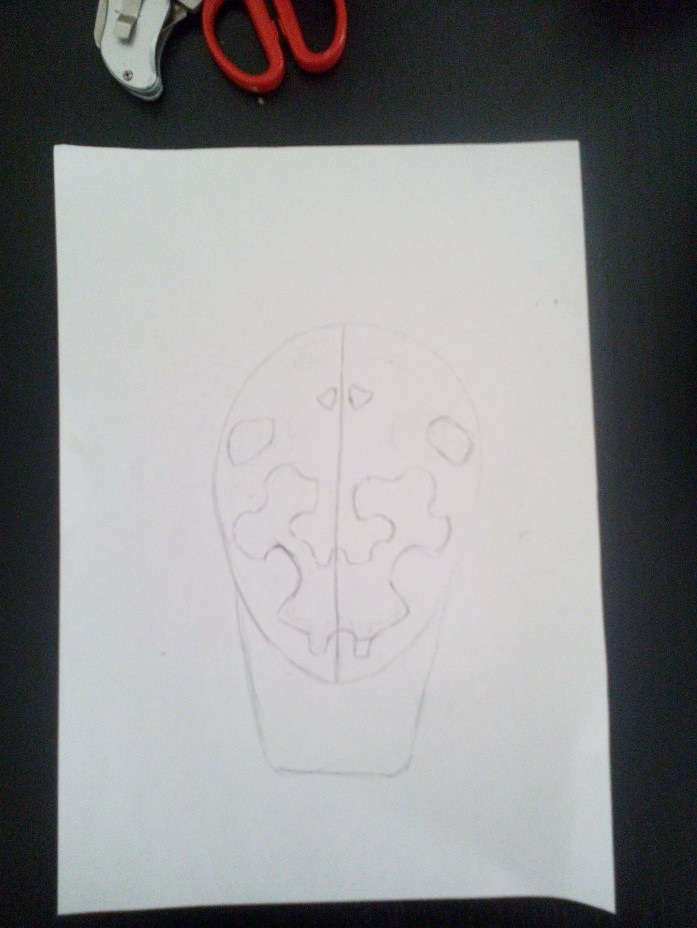
A drawing on paper helps to think about proportions before touching the mask.
Step 1
Draw a design that will remain readable
Start on paper. Draw the general shape of the mask's face, then place your design inside. Favor large shapes and strong contrasts: small details quickly get lost in the metal grid.
Hold the sheet in front of the mask to judge the scale. Its grid is curved: a pleasant flat drawing may appear stretched on the sides. Keep important elements towards the front and consider the part that your mask cover will hide.
For this first project, adding only one color to the original background simplifies the work. Multicolored stencils are possible but require multiple masking and more markers.
The surface to be decorated is covered with tape before transferring the drawing.
Step 2
Apply the masking tape
Prepare the surface according to the mask's instructions and the paint guidelines. It must be clean and dry. Do not add sanding or stripping to this method.
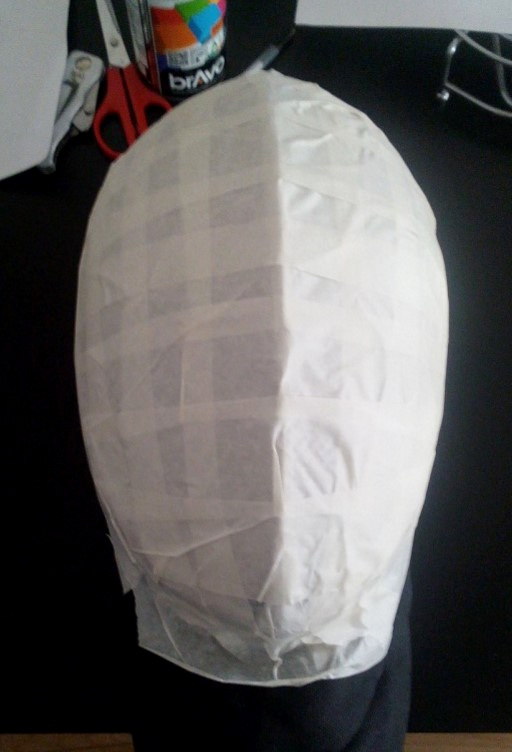
Michel applies two crossed layers of tape, one vertical and the other horizontal. Slightly overlap the strips to form a continuous surface that follows the mask's curve.
Smooth the folds with your fingers, without pressing into the grid. A strip that lifts along a contour will let paint seep underneath: it's better to fix it now.
The grid helps place shapes on either side of the center.
Step 3
Add markers on the curve
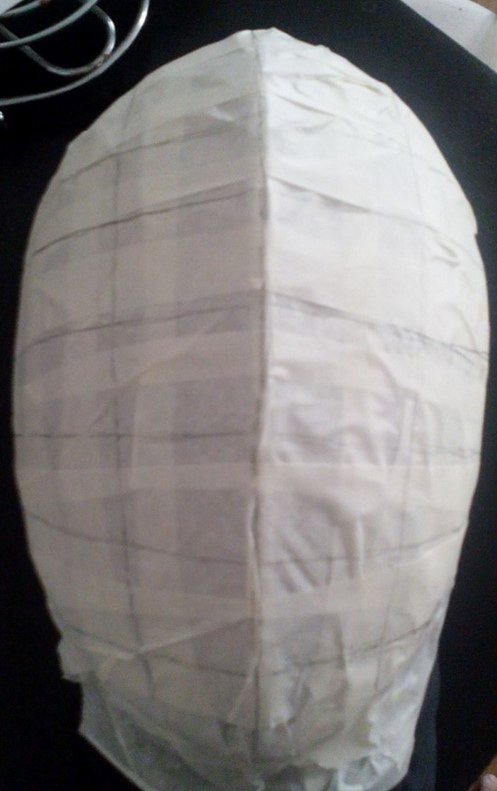
Draw a central axis, then a few horizontal and vertical lines on the tape. This grid helps to find the placement of your sketch elements.
Regularly look at the mask from the front, at a bit of a distance. Perspective can easily deceive when working up close. Check proportions before details: a well-placed design will remain readable even if its line is not perfectly regular.
The outlines are transferred onto the tape before cutting.
Step 4
Transfer the design's outlines
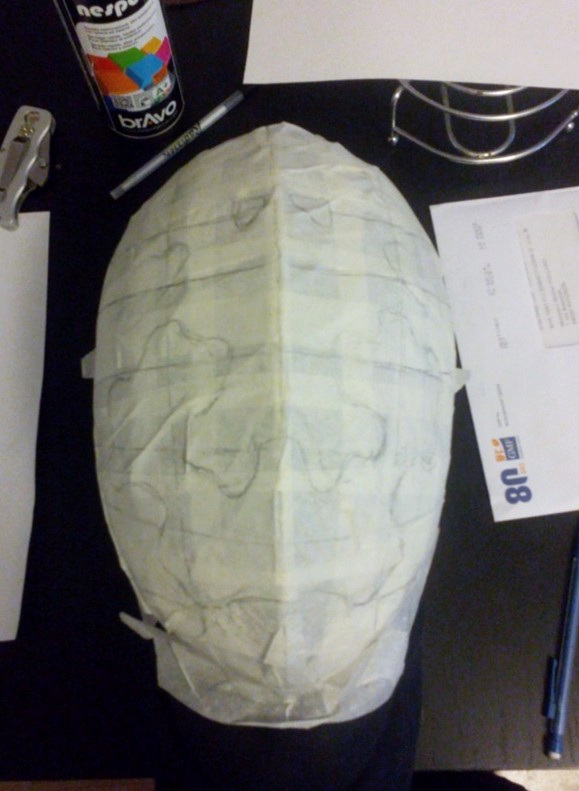
Recreate your pencil drawing using the markers. Adjust volumes that change too much with the curvature, then go over the retained outlines with a marker if it helps you distinguish them.
Decide now what will be painted and what will remain black. You can mark the areas to remove on your sketch. It's a simple detail that prevents discovering, spray in hand, that you've prepared exactly the opposite of what you wanted.
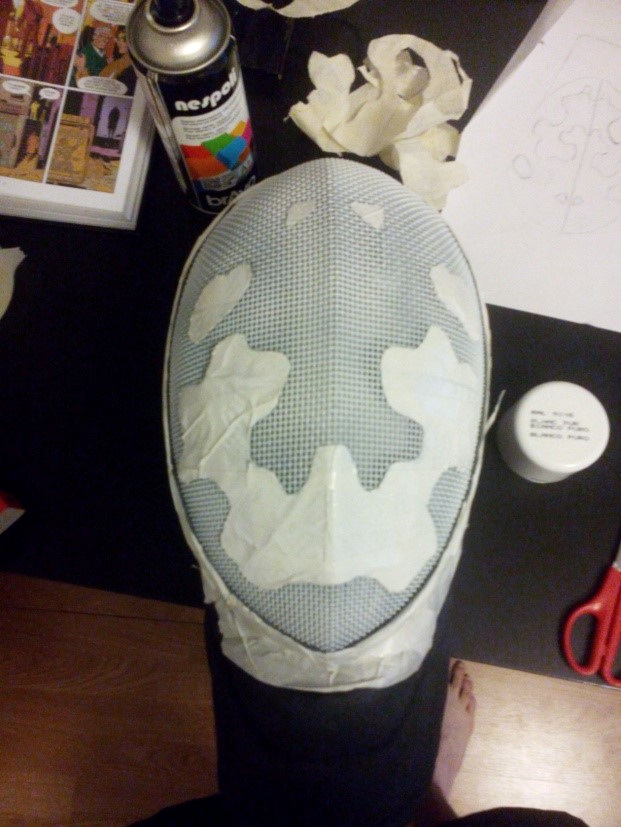
The retained tape corresponds to areas that will keep the original black color.
Step 5
Cut and remove the right parts
Carefully cut the outlines, then remove the tape from the areas intended to receive paint. The parts that should remain black stay covered.
The blade should cut only the tape, without damaging the coating or touching the textiles. If you cannot control this cut on the mask, prepare the elements on a separate cutting mat, then reposition them with your markers.
Examine the stencil's edges and small isolated areas. The tape must adhere well, but no piece should be pushed through the mesh. Compare one last time with the paper drawing.
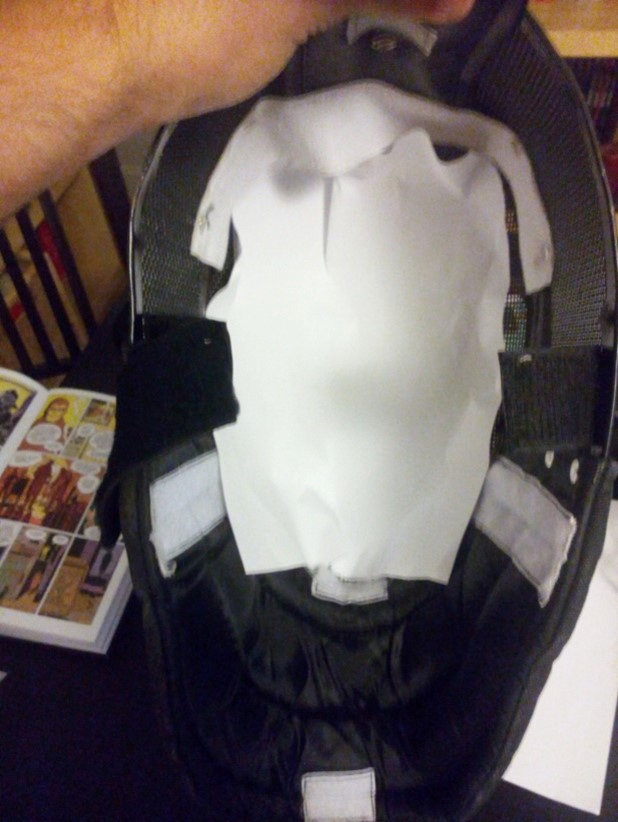
Michel places paper inside to catch paint that passes through the grid.
Step 6
Protect everything that should not be painted
Remove only the padding that the instructions specify for maintenance. Protect other elements, the bib, edges, and fastenings. Dismantling structural parts is not part of the tutorial.
Place paper behind the grid, as shown in the photo, to catch overspray that passes through. Ensure it covers the entire concerned area. It must remain behind the mesh, without being stuffed into its openings.
Check around the mask before painting: sides and joints are easy to forget when all attention is focused on the design.
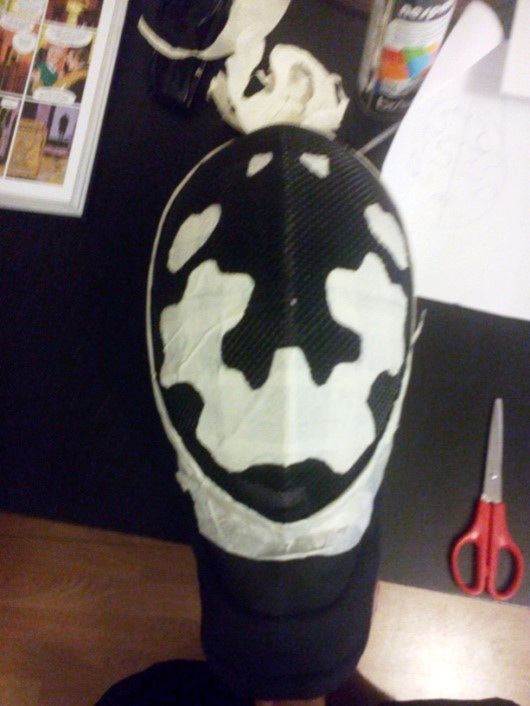
The light color has been applied; the tape still protects parts of the design.
Step 7
Apply the paint with restraint
Prepare the aerosol and test it on a separate surface, according to its instructions. Respect the spraying distance and intervals between passes indicated by the manufacturer.
Work with light passes, moving the spray to avoid accumulating paint in one spot. It's not about filling the mesh. If a second pass is needed, wait for the specified time rather than insisting on a still fresh layer.
Watch for drips or films between the wires. The grid must remain open: the opacity of the design is not achieved by clogging the mesh.
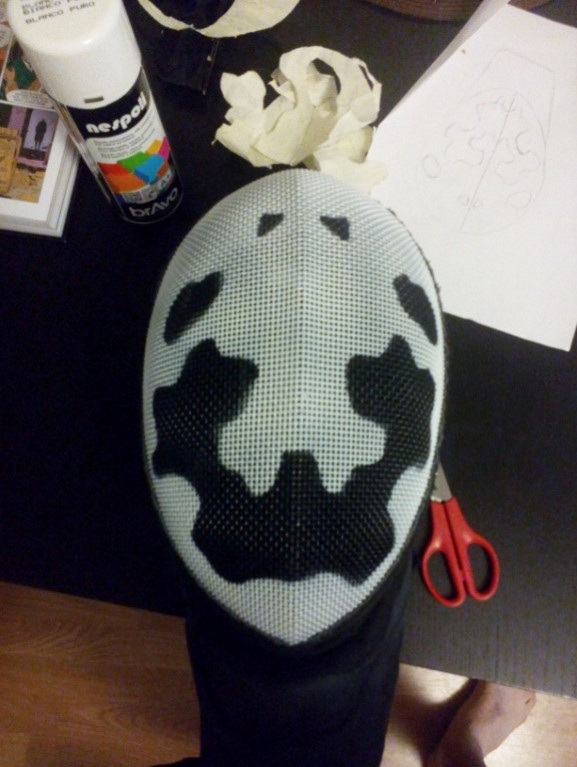
Michel's result after removing the tape: the protected areas remained black.
Step 8
Remove the stencil and let it dry
Remove the tape at the time recommended for the paint and adhesive combination used. The quarter-hour mentioned in the original tutorial corresponds to Michel's work; it is not a drying time valid for all paints.
Peel off the elements slowly, without pulling harshly on the edges. Also, remove protections when it can be done without touching the fresh paint.
Then let the mask reach the complete drying time indicated by the product before reassembling, trying it on, or storing it. A drawing dry to the touch is not necessarily ready to return to the training bag.
Before returning to the room
Examine the grid in the light, from the outside and then from the inside: the openings should be clear, without drips or projections obstructing vision. Also, check that the markings remain readable and that the textiles have not received paint.
Reassemble the padding according to the instructions, then check the mask's fit with your usual equipment. If you notice an anomaly, seek advice before resuming practice. Visual inspection after painting does not replace the usual mask checks.
With use, friction can mark the design. For maintenance, keep the mask's instructions as a reference and avoid improvised solvents. Any touch-up should remain compatible with the coating, without piling up layers over sessions.
For a first creation, choose a design that you will enjoy looking at even from afar. On a grid, a few well-placed shapes often make more impact than a multitude of details.
Want to try another way of painting?
Has the stencil given you a taste for customization? Markers allow for a different approach, color by color. Fred shows us how to reveal a feline face, from the first layers to the whiskers.
Method, creation, and step-by-step photos: Michel Vollaro, with our thanks. Writing: Faits d’Armes. Photos slightly corrected for readability; illustrative cover created with Higgsfield from Michel's mask.