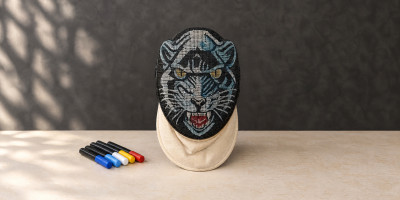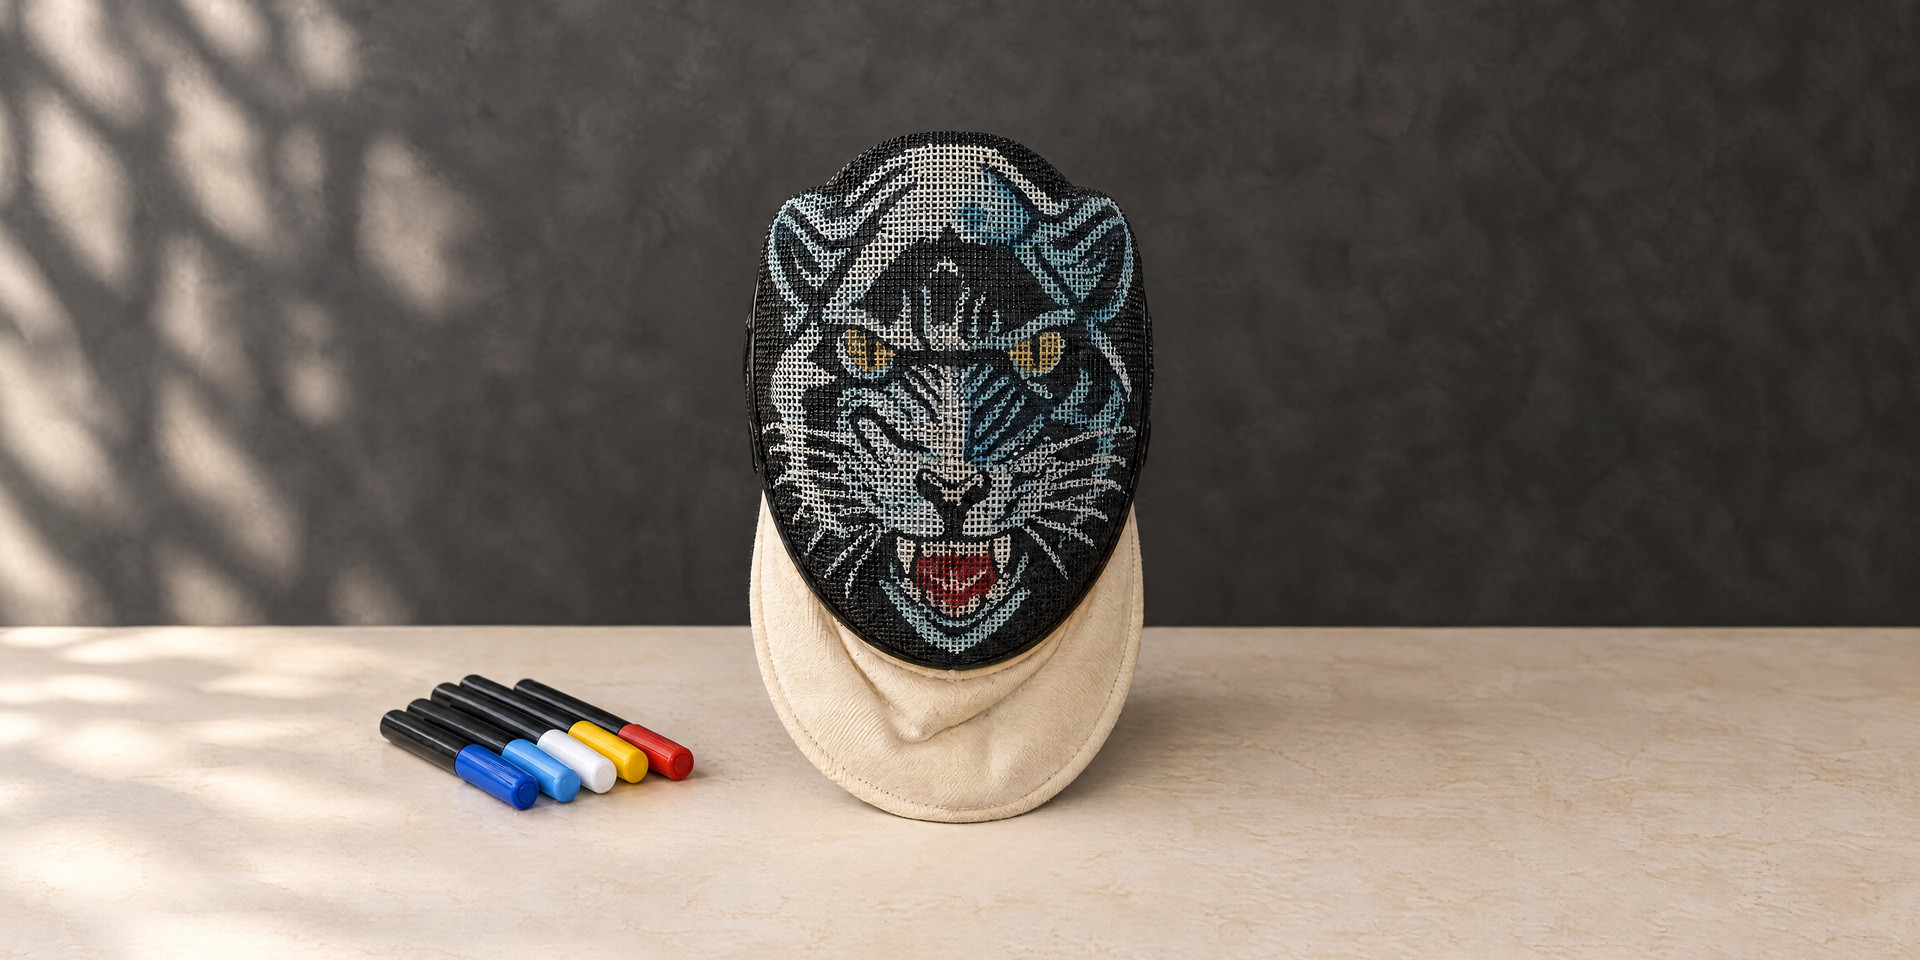











With his photos and advice, Fred shows us how to create a design with a paint marker, from the large areas to the...
Painting your HEMA mask with Posca: from base colors to details
A face, an animal, your club colors, or a pattern unique to you: paint markers offer great freedom to personalize a mask. You can start with a few outlines, then add colors and watch the drawing take shape, layer by layer.
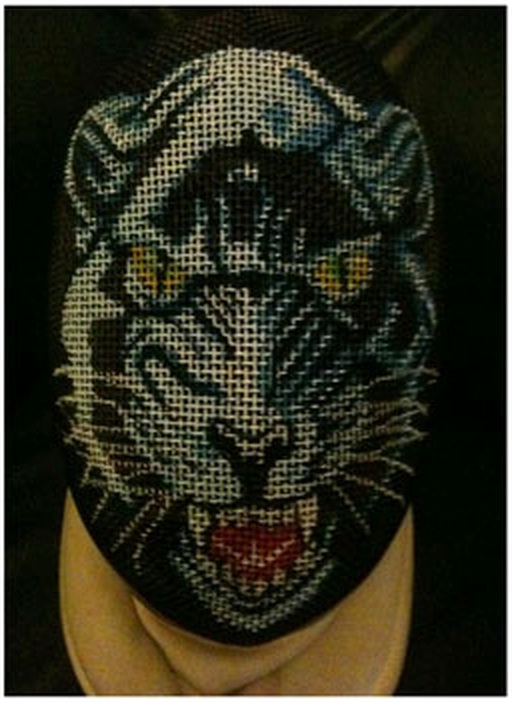
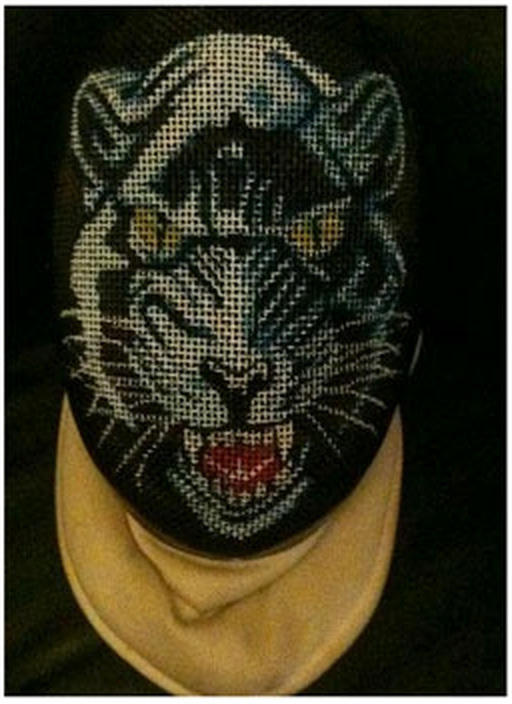
Fred shares his tips and the eight photos of his creation. His feline appears detailed once finished, but the initial images tell a reassuring story: everything starts with large areas of color. The eyes, outlines, and whiskers come later.
If you prefer a simple pattern with clear boundaries, our stencil tutorial with Michel offers another method. Here, we will work directly with the marker, taking the time needed to develop the drawing.
Fred's Method
First build the large masses, then the volumes, then the details. Fred progresses from dark to light by reducing the painted areas with each pass. Let the colors dry before layering them and keep the grid openings clear.
What pattern to choose for a mask grid?
A grid does not offer the continuity of a sheet of paper. Its grid interrupts lines, its curvature changes proportions, and small details quickly become hard to read. First choose a recognizable silhouette and a few strong contrasts. Even for an elaborate pattern, this base will do most of the work.
Prepare a sketch to the size of the mask and present it in front of the grid. Identify the eyes, the center of the face, or the important points of your drawing. Also try the mask overlay: the part it covers at the top should not hide the element on which the entire composition depends.
Fred's feline is an example, not a level to reach on the first try. A symbol, two colors, and a clean outline already constitute a real project. The whiskers can wait their turn.
Preparing the mask and markers
This tutorial concerns the outer face of an intact mask grid. Check with the manufacturer that the customization and products considered are suitable for your model. Protect the bib, edges, trims, fasteners, and markings; keep the inside of the grid free from splashes. If you plan a tournament, also check the organizer's requirements.
Gather your paper drawing, paint markers in chosen colors, paper for testing, and something to protect your workspace. A medium tip facilitates flat areas, and a finer tip allows for refining outlines. The name Posca refers to a brand: if you use other markers, consult their own instructions.
Prepare the mask according to its instructions, then let the surface dry. To prime a Posca, shake it closed and press its tip on a separate sheet until you get a regular flow. Test before touching the grid. Repeat on this sheet when you need to re-prime the marker, rather than pumping directly on the mask. The manufacturer's instructions detail this process.
Paint the wires without trying to fill the holes. Light and controlled strokes are preferable to a tip soaked in paint. Do not press to push the tip between the meshes.
Bringing the pattern to life in eight steps
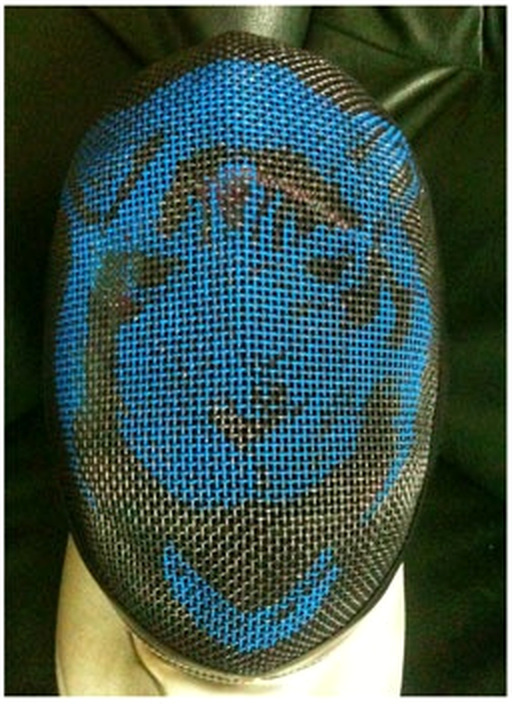
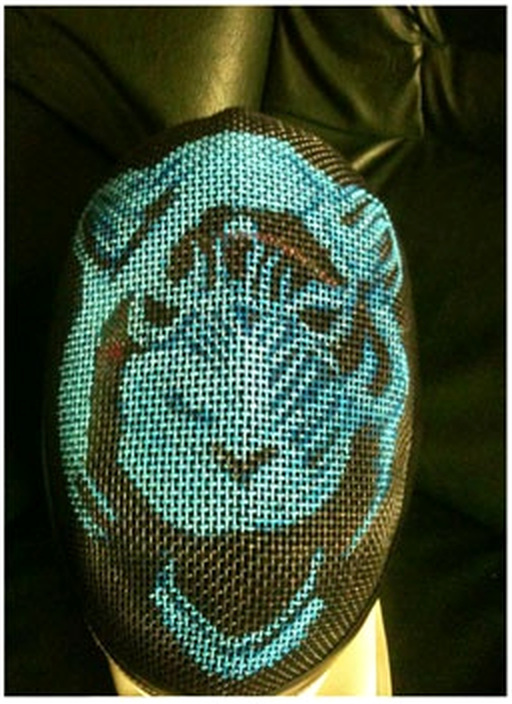
Photo 1 — The blue sets the general layout of the drawing and its main volumes.
Step 1
Place the large color masses
Apply the shade that will serve as the background for your pattern. In this creation, Fred starts with a fairly dark blue on the black grid. He sets up the large shapes and reserves the parts that will remain dark.
At this stage, focus on the right size and placement. Step back to view the whole, check the center, and the space left for the mask overlay. It is easier to adjust a large shape now than after drawing all its details.
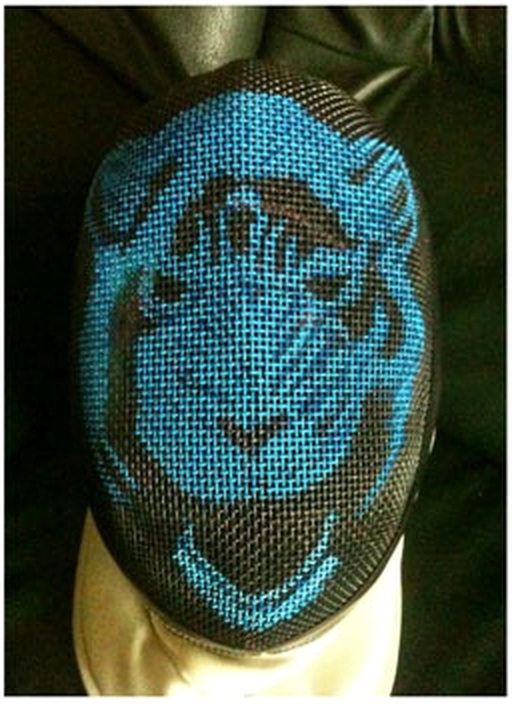
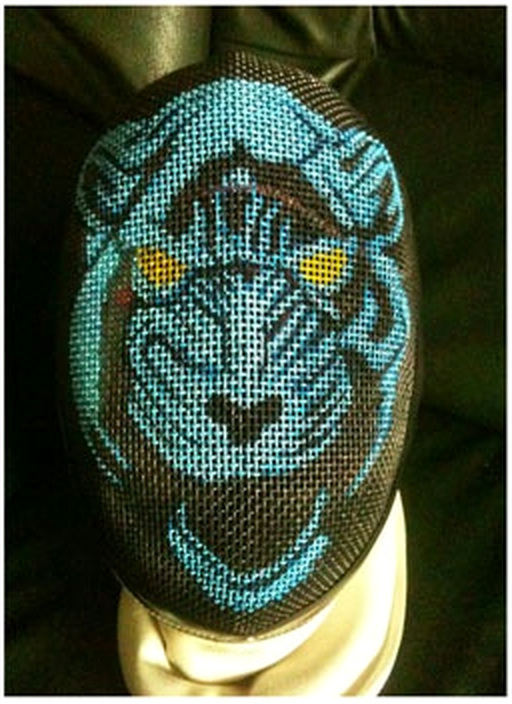
Photo 2 — An intermediate shade begins to distinguish the different planes.
Step 2
Introduce a lighter shade
Once the background is dry, add an intermediate color on slightly smaller surfaces. Keep visible the areas of the first color that will form the shadows and separations.
Fred's logic is to gradually lighten without covering everything that came before. The drawing thus gains depth, even with a limited palette. Don't worry if the result still seems abstract: you are laying its structure.
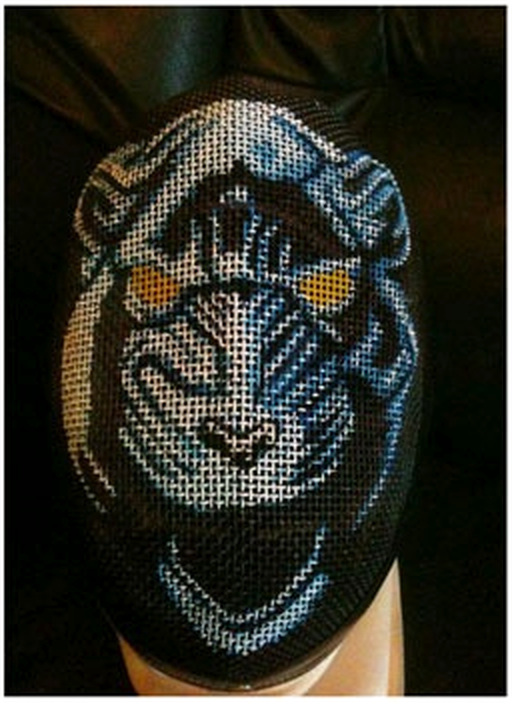
Photo 3 — The lightened surfaces reduce as the volumes become clearer.
Step 3
Enhance the volumes
Continue with a lighter shade on the parts that need to stand out. Observe the photo: some volumes become much more readable, while the black and blue areas continue to separate the shapes.
Light colors may require several passes to cover a dark background, as Fred points out. Let dry between them and control the amount applied. An additional layer can improve the color; an accumulation that closes the meshes should be avoided.
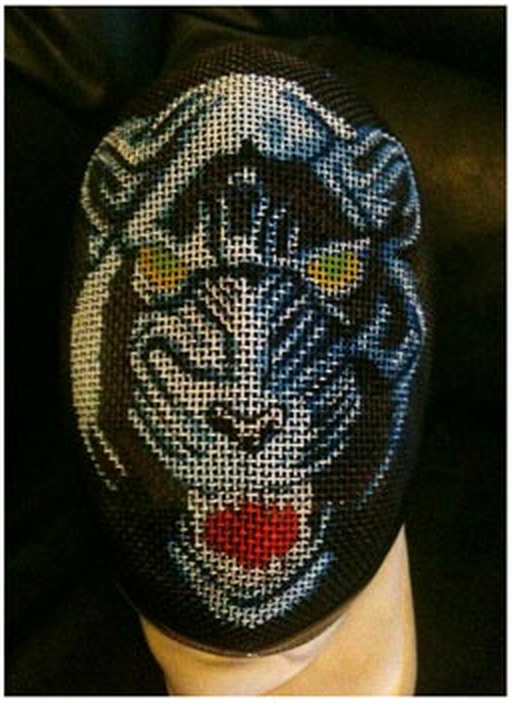
Photo 4 — The eyes become an anchor point in the composition.
Step 4
Place the elements that give expression
The large volumes are in place: you can now draw the elements that will allow your subject to be recognized. Here, the yellow eyes and the lines of the muzzle reveal the face.
Work on their position before seeking great finesse. Two eyes placed at the right height matter more than very detailed irises. Compare both sides from a front view, taking into account the curvature of the mask.
Photo 5 — The light lines refine the outlines and light areas.
Step 5
Refine the outlines and reliefs
Go over the lines that define the face and add light touches. A finer tip becomes useful, but keep the lines bold enough to remain readable on the metal.
Alternate between drawing up close and viewing the mask from a distance. The pattern should work as a whole. If a detail adds nothing to its readability, you can very well do without it.
Photo 6 — A bright color draws attention to the mouth.
Step 6
Add color accents
Fred introduces red in the mouth. This new accent stands out because it occupies a limited area, in the middle of a drawing dominated by cool tones and clear outlines.
For your own pattern, choose the places where a bright color will be truly useful. Let neighboring areas dry before intervening and keep your test sheet handy to check the tip's flow.
Photo 7 — The small touches complete a drawing whose volumes are already constructed.
Step 7
Finish with fine details
Add the fur strokes, whiskers, and small touches that give character to the subject. In Fred's photo, they complement the already readable volumes; they do not have to replace them.
Proceed with small touches. A grid can tempt you to follow each wire until you lose an entire evening. Keep your initial intention in mind and stop when the drawing reads well.
Photo 8 — The finished creation, after the final touches.
Step 8
Review the drawing, then let it dry
Look at the mask from the front and three-quarters. Identify outlines to refine, contrasts that are too weak, or an area lacking balance. Correct with small touches, on dry paint.
Posca drying is quick, but it varies with the support and the amount applied. Do not take "dry in one minute" as a universal rule. Let the drawing dry completely before handling the mask or putting its protections back on.
Then check that the meshes are open, the inside is clean, and the fasteners and trims remain in good condition and properly reassembled.
Should you add varnish?
For this step-by-step, we retain the finish without varnish shared by Fred. His feedback is favorable to the durability of the markers in use, without making it a promise for every painting or mask.
His former advice to never varnish deserves a clarification: POSCA recommends certain water-based varnishes on metal. This shows that varnish does not systematically damage these pigments; it does not validate its application on your equipment either. Compatibility with the mask, its coating, and its openings must also be established.
Correcting and maintaining the drawing
For a small correction, you can touch up a contour or color once the previous layer is dry, keeping it light. Fred also mentions erasing with alcohol in his notes: we do not make it a general recipe, as compatibility with the mask's coating and materials is not established.
Follow the mask's maintenance instructions and monitor the drawing's condition after sessions. If you wish to remove everything or start over, ask the manufacturer which products and operations are suitable. Personalization should not prevent seeing the actual condition of the grid.
And why not a matching set?
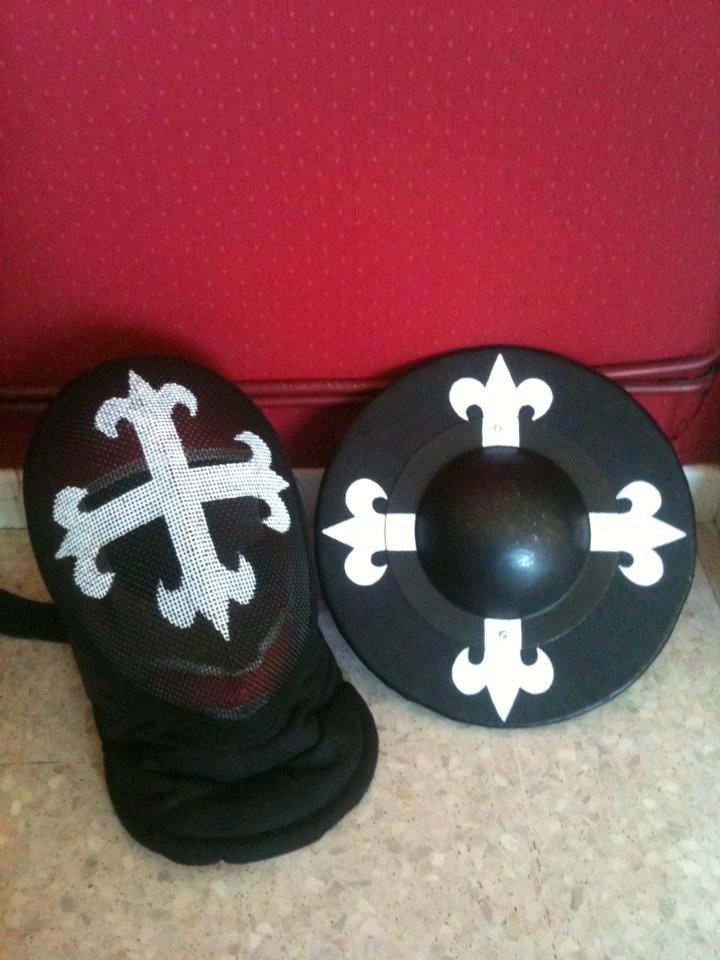
A mask and a buckler matched among Fred's creations.
To extend the idea
A pattern that appears on your equipment
Fred also decorates bocles, these small round hand-held shields. Repeating the same shapes or colors on two pieces gives unity to the set, without necessarily reproducing the drawing identically.
Each support requires its own products and preparation. Acrylic paints with a brush, also used by Fred, offer even more possibilities but are a distinct method from this marker tutorial.
It's your turn to choose your first pattern
A simple symbol, a color you love, and a bit of patience are enough to start. If you prefer to work from a tape mask and then apply a single color, check out Michel's stencil creation.
Method, creations, and photos: Fred, with our thanks. Writing: Faits d’Armes. Usage tips supplemented by official POSCA documentation. Photos slightly corrected for readability; illustrative cover created with Higgsfield based on Fred's feline.