









A bruise on an arm can be a training memory; a bad sword strike to the face can have far more serious consequences....
Which fencing mask for HEMA?
If there's one piece of equipment to buy first for HEMA, it's the mask. A bruise on the arm can be a training memory; a bad sword hit to the face can have far more serious consequences. From the start, choose a reliable, certified, and well-fitted mask.
Other protective gear remains important depending on the exercises, but protecting your face is a priority that doesn't wait for you to "level up." Whether it's your first mask or a replacement for a trusty one journeyman training, here is how to choose, adjust, and maintain this essential piece.
The first reflex: check the markings
The fencing equipment meets strict requirements, specifically defined by the European standard EN 13567. Never use a mask without a CE marking, without reference to this standard, or without an identifiable protection level: Level 1 / CEN 1 or Level 2 / CEN 2. A reassuring appearance and a black bib do not replace these indications.
Is a HEMA mask different from a traditional fencing mask ?
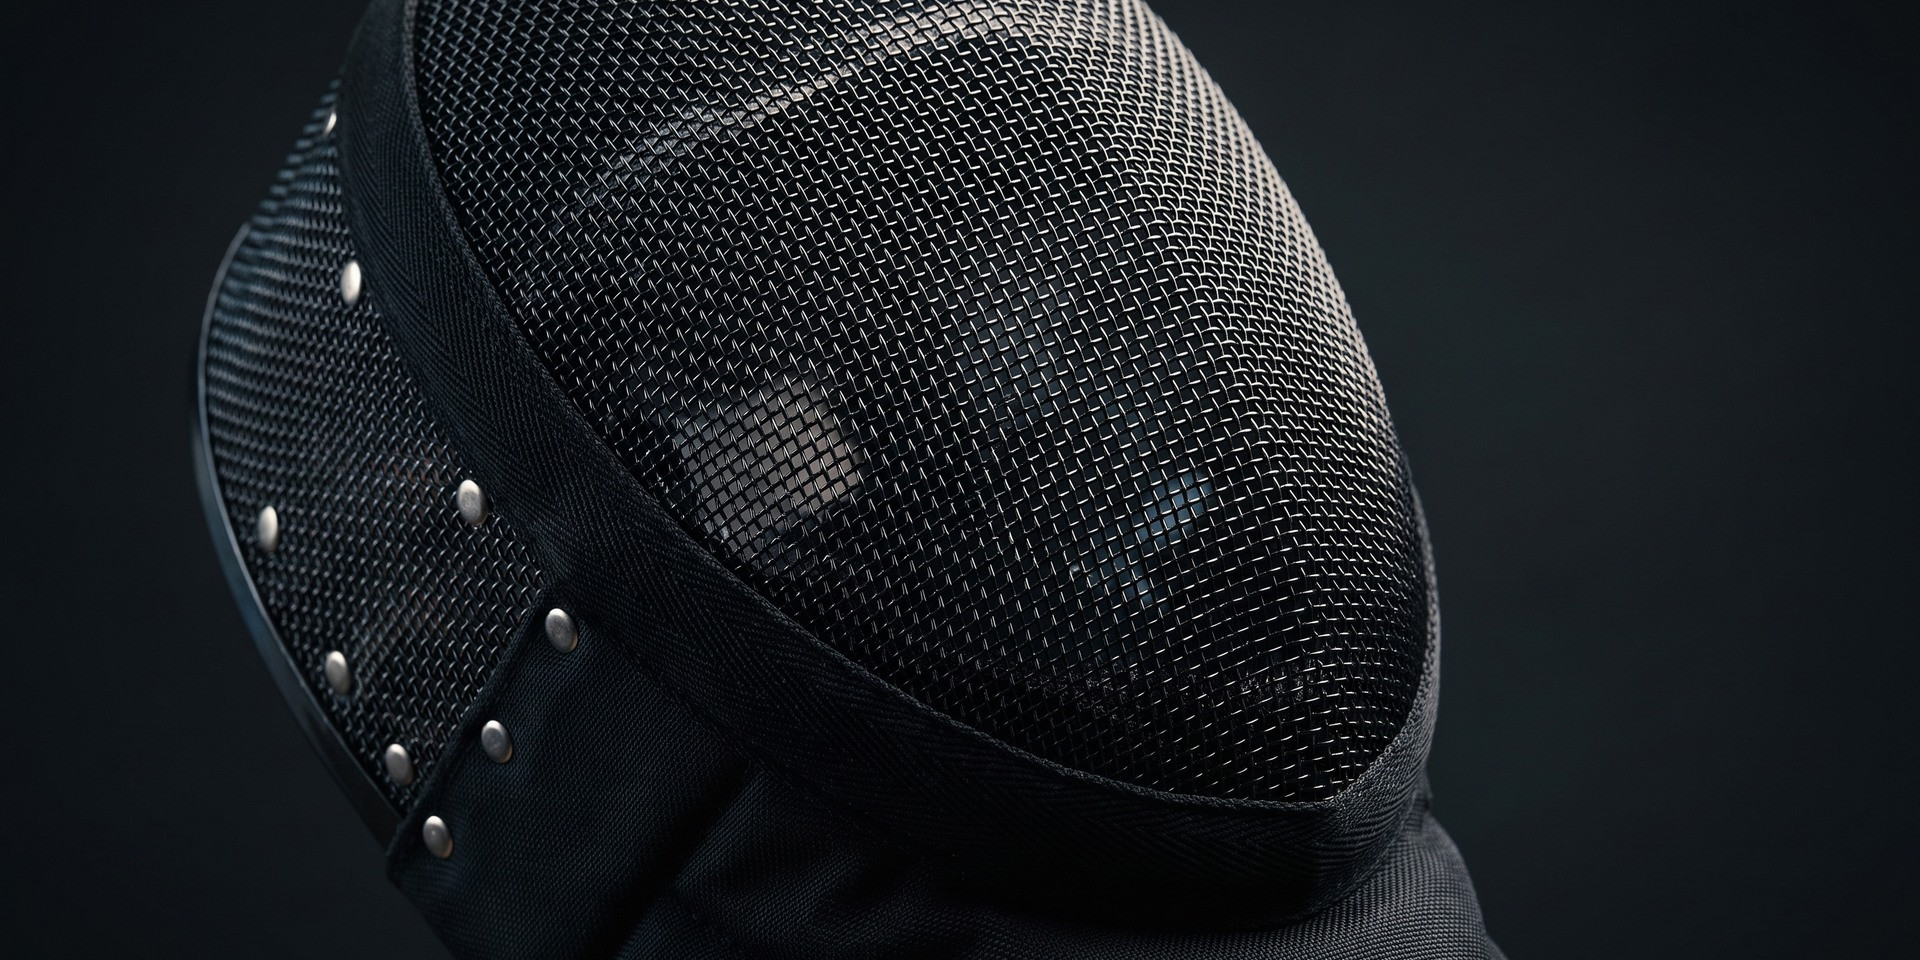
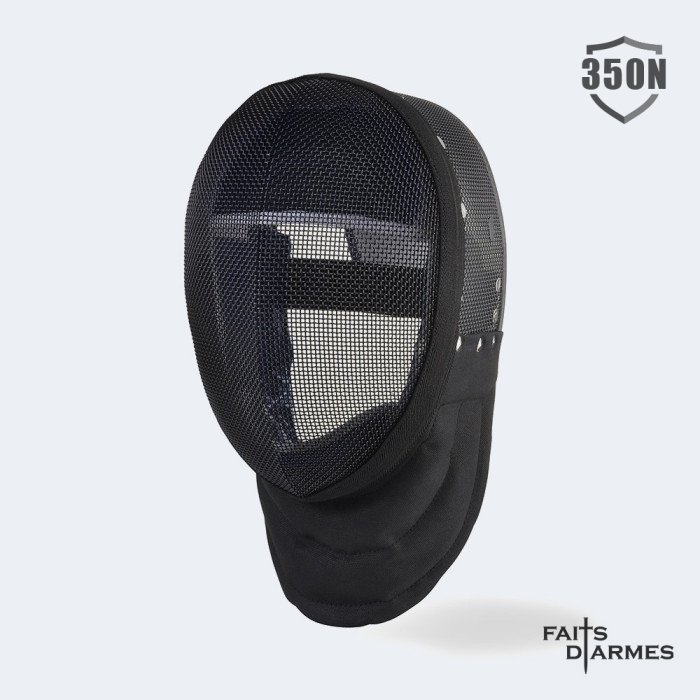
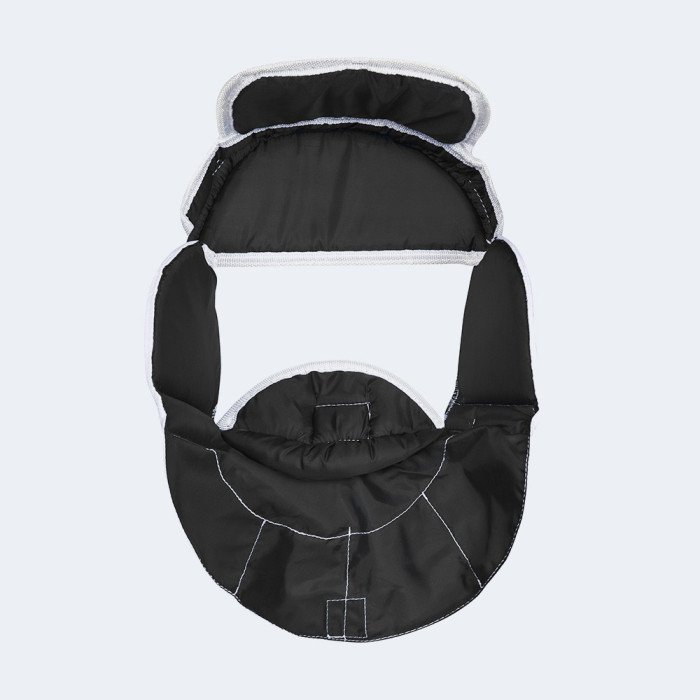
Basically, it is the same type of equipment: A metal grid protects the face, a textile bib extends under the chin, and fastenings keep the whole assembly on the head.
The most visible difference is often the black gorget. In modern fencing, it is commonly found on the masks of master In HEMA, it has become the standard. However, it is neither a specific certification nor proof that all models are interchangeable. The level of protection, fit, and intended use by the manufacturer still need to be verified, regardless of the color.
What makes our masks different ?
At Faits d’Armes, everything started with a fencing mask. In its early days, the shop offered only one type of product: masks. For the first HEMA practitioners, it was difficult to obtain them outside the modern fencing club circuits. The shop was created to meet this very specific need.
The Faits d’Armes mask has been with us since that time. It has proven itself year after year, with small improvements made over time to its reliability and durability. The catalog has grown significantly since then, but this first product holds a special place in our history.
What makes us recommend it is as much about its protection as it is about what we appreciate when wearing it: good support, an easy-to-wash lining, comfortable movement with the jacket, and replaceable wear parts. It is based on these concrete details that we judge a good mask.
Our masks are available in five sizes and two levels of bib resistance: 350 N and 1600 N. Here is the 350 N version. View the 350 N mask
Useful details for each session
A mask that can be adjusted and maintained
The inner padding is detachable and machine washable. It can be removed thanks to its Velcro fastenings. This makes maintenance easier and is truly appreciated when sessions are back-to-back.
The liners and rear fastening elastics are sold separately. A worn-out part that needs replacing does not condemn the entire mask, as long as its structure remains in good condition.
Five sizes, from XS to XL, allow you to choose a mask that fits your head. The adjustment of the supports and the lateral adjustment of the grid's perimeter complete this selection.
Comfort is key: Before concluding that a mask does not suit you, take a few minutes to check its adjustments. A small adjustment in shape can change a lot of things.
Openings at ear level
Our masks feature openings at the ear level, designed to reduce the suction effect. It's a subtle detail, but it contributes to wearing comfort. Of course, it does not exempt you from maintaining controlled exchanges.
A bib that softens with use
The textile bib is the part that extends below the chin. When new, it may feel firm. It gradually softens with use., which facilitates movement and reduces discomfort when it meets the collar of the jacket. Take the time to try on the set: the mask and jacket should allow you to turn your head without straining your neck.
A standard form for your mask covers
The shape of our masks is compatible with most mask covers on the market. You can choose the outer padding and back protection that suit you. Simply check the size and fit of the selected model.
Robustness, seen from the club and the shop
Our experience as practitioners and the feedback we receive give us confidence in this range. To date, we have not encountered significant shell deformations on our masks as observed on some other models that have come into our hands.
This is field feedback, not the result of a comparative laboratory test. Therefore, we continue to inspect our masks like any protective equipment. Having confidence in your gear and taking care of it go hand in hand.
350 N, 1600 N, CEN, and FIE: How to Make Sense of It All ?
The "N" stands for the Newton, a unit of force. The terms 350 N and 1600 N refer to the puncture resistance of the textile gorget. They do not indicate the intensity of a blow you might receive to the head.
The Levels CEN 1 and CEN 2 corresponding to the requirements of the Standard EN 13567 on several elements of the mask. The grille is also subject to tests, including penetration and impact, with some criteria differing between levels. The FFAMHE Mask Inspection Checklist explain this distinction.
In our range, you will find the 350 N CEN Level 1 and the 1600 N CEN Level 2, with FIE certification. The FIE is the International Fencing Federation. Its certification and the regulations of your HEMA event are two benchmarks to consider: admission to a competition depends on the requirements of its organizer.
The takeaway: Puncture resistance and shock absorption are two different things. A 1600 N mask does not automatically absorb blows "four times better" than a 350 N mask. It also does not provide extra hit points.
Which version should I choose for my practice ?
The 350 N for uses accepted by your club
We gladly recommend the 350 N when the club allows it for the scheduled sessions. This choice is suitable for a first purchase as well as for renewing equipment: the level is determined by the exercises, simulators, and instructions, not by the number of years you have practiced.
HEMA simulators have tips designed for training, often thickened or folded. Their geometry plays a role in the selection of protective gear; however, it is not sufficient on its own to determine the mask suitable for all uses.
The 1600 N version, with FIE certification, should be considered based on the requirements of your practice and the events you participate in. View the 1600 N mask
Anticipate your upcoming training sessions and tournaments
The 1600 N when this level is required
If your club requires a CEN Level 2 mask, choose a model that meets this requirement directly. The FFAMHE recommends this level for HEMA, beyond the sole context of tournaments.
Do you have competition plans? Check the regulations before purchasing. A 1600 N mask meets the bib level required by many events and can save you from having to change equipment. The retention system and additional protections can also be part of the criteria.
To cut: Let us know what you practice and the requirements of your club or tournament. We can guide you to the appropriate version.
How to identify the level of my mask ?
Look for three indicators: the CE marking, the EN 13567 reference, and the protection level 1 or 2. They may appear on a label inside or on the back of the mask, particularly near the metal tab depending on the model. Also, find the manufacturer and reference to consult the corresponding manual.
Level 1 / CEN 1 designates the first level; Level 2 / CEN 2, the second. The mention of FIE, when present, is an additional reference. It does not replace the verification of other markings or the requirements of your practice.
The color of the padding may have served as a marker on certain series, but a lining can be replaced. If the inscriptions are missing, illegible, or inconsistent, set the mask aside until its compliance is verified. You can send us photos to help us identify it; do not rely solely on its appearance.
How to choose the size and adjust the mask to my head ?
Our masks are available in five sizes: XS, S, M, L, and XL. To find yours, take a tailor's tape and measure the vertical circumference of your head, passing under the chin and over the top of the skull, as on the size guide chart.
Seek assistance if necessary and take the measurement a second time. A head circumference, a cup size, or your size from another brand cannot replace this measurement.
Between two sizes, which one should I choose ?
For our models, we recommend choosing the smaller size if you're unsure. A mask should fit close to the head and remain stable. This doesn't mean you should endure painful compression: the shape and adjustments are just as important as the indicated size.
Can the shape of the mask be adjusted to fit your face ?
Yes. The perimeter of the grid is adjustable on the sides. : it can be slightly tightened or widened to better fit the head. Some masks that feel too large or too small simply require a shape adjustment. Here's how to proceed upon receipt.
I receive my mask: how do I adjust it before the first session ?
A new mask isn't necessarily already adjusted for your head. Give it a few minutes: it's more pleasant to get acquainted here than between exchanges during training. The steps below pertain to our masks with a rear strap and two plastic rings. Keep the manual of your version within reach.
1. Inspect the mask
Before putting it on, examine the grille, the bib, the stitching, the padding, and the fastenings. Check for CE markings, EN 13567, and the protection level. The mask must be intact and all fastenings must be functional. In case of damage upon receipt, contact us before using it.
2. Open the back tab to approximately 45°
Lift the rear metal tab to create an opening of approximately 45°. This position provides space to put on the mask; this is not its final setting. You will then bring it closer to the back of your head.
3. Install the elastic strap
Thread the strap through the two plastic rings designed for its attachment, following the path indicated in the instructions, then close the Velcro fasteners. The elastic should remain flat, without twisting. The strap and the tongue work together to provide support: use both well.
4. Adjust the sides at the temples
With the mask removed, gently press the edges of the grille on the sides, at the temples, to tighten it if necessary. If it is too narrow, slightly widen it. Make small adjustments and try again between each setting. We adapt the shape of an intact mask; we do not straighten a dent caused by a blow here.
5. Place the chin and forehead in their supports
Put on the mask by fitting your chin securely into its slot, then press your forehead against the padding. The supports should be firm and comfortable, without pain or excessive compression. Check that the lining is secured with its Velcro and that your vision remains clear.
6. Bring the tab closer to the back of the head
Finish folding the tab so that it fits well against the back of your head and holds the mask in place, then adjust the strap tension. Look for a firm grip, without any painful points. Get assistance at the club for this initial setup if necessary.
7. Check the space in front of the nose
With your hand, apply light pressure to the front of the mask: the grill should not touch your nose. If it touches, reset the supports and the adjustment, or ask us for advice. This check is done without weapon impact: it verifies the fit, not the mask's resistance to an impact.
8. Shake your head "no"
Shake your head from left to right, as if to say no. The mask should follow your head without slipping or moving independently. If it floats, shifts, or threatens to come off, adjust it again before practicing. Then perform the same test with your jacket, your mask overlay and other protective gear worn during training.
Before the first exchange
- The mask is intact, its markings are identified, and all its fastenings are in place.
- The chin and forehead are well positioned; the grill remains at a distance from the face.
- The mask remains stable when you move, without pain or discomfort with the rest of your outfit.
How to gain comfort with glasses ?
Glasses can take up space under the mask or create pressure points at the temples. Try your mask with the frame you will actually use. It should stay away from the grid and not be pushed against your face.
On our masks, an initial approach is to slightly detach the padding from its Velcro and reposition it a bit towards the back. This can create space between the grid and the forehead and chin supports. Ensure the lining is securely fastened and check the fit again.
Depending on your body type and glasses, trying a size up might also be worth considering, as long as the mask remains stable. Contact us if you're unsure: we're looking for a fit that suits your face, not just a larger size.
The FFAMHE recommends sports-specific contact lenses or glasses. An optician can help you choose a solution that suits your situation.
With which mask overlay and gorget use it ?
A mask is used as part of a set of protective gear. Its standard shape gives you options for complementing it; the key is that the pieces remain well-fitted when you move.
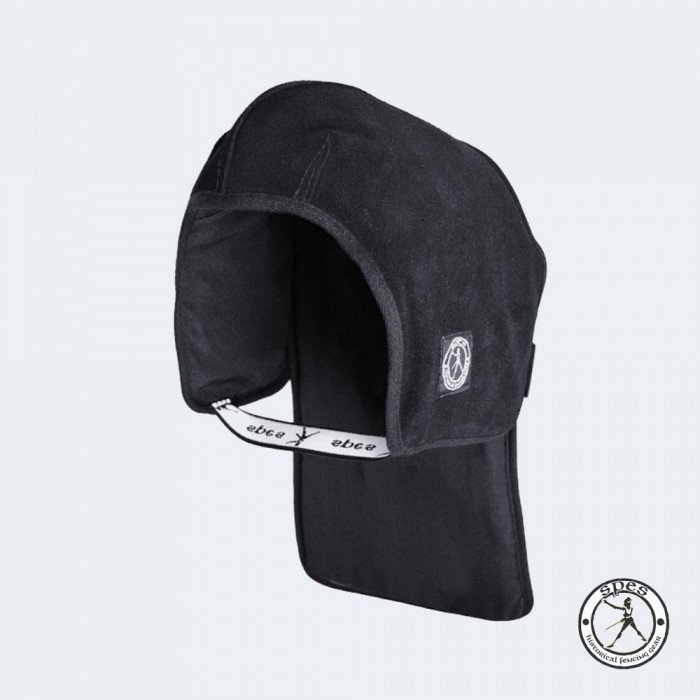
The SPES Unity is one of the mask covers compatible with our masks. View the mask overlay Unity
Keep an outfit that allows movement
Padding and protection for the back of the skull
The mask overlay quickly shows its usefulness. It adds padding and completes the protection of the back of the skull, which is very exposed with a classic fencing mask. Choose a model that covers the areas necessary for your practice.
The gorget protect the throat with a suitable structure. The bib and the folding collar of certain jackets also contribute to neck coverage, but their functions remain different. When the exercise requires a gorget, plan for it.
Be mindful of friction: a gorget may interfere with the mask or the collar of the jacket. Try the set by turning your head and taking your guards. If the pieces get stuck, readjust or try another model.
To check together: Coverage, support, and freedom of movement. Adding protection should not cause the mask to shift or become unbalanced.
How to maintain the mask and replace wear parts ?
After each session, take the mask out of the bag and let it air dry in a ventilated area. It's a small gesture, but finding it dry for the next training session is one of the simple pleasures for the practitioner.
The lining can be detached thanks to the hook-and-loop fasteners: it can be washed or replaced separately. See the replacement liners
A mask that stays clean
The padding can be removed for washing.
To clean the padding, detach it and follow its instructions. Our replacement liner is machine washable: the label specifies a synthetic program at 40°C, without spinning. These instructions apply to the lining, not the entire mask.
Lining and rear attachment: parts available separately
We offer the padding and the retention elastic bands in spare parts. You can thus replace a worn liner or attachment without purchasing the entire set. Check compatibility with your mask version: the old and new attachment systems are not interchangeable by default.
After a replacement, check the supports and stability again. A new part restores the function in question; it does not repair a damaged grid.
When should the mask be set aside ?
Before the sessions, check the mask, the bib, the seams, and the fastenings. A significant dent, a crack, corrosion, a tear, or a faulty attachment require inspection before any reuse. Consult the club and the manufacturer rather than putting a damaged mask back into service based solely on its appearance.
There is no identical lifespan for all uses. Follow the manufacturer's instructions and replacement criteria, taking into account the condition and history of the mask.
A warranty and a contact person for support
Our masks come with a one-year warranty, in addition to the applicable legal warranties. For assistance, please contact us with your order reference, a description of the issue, and photos. We will review your request and explain the possible next steps.
What about Kali or MSF combat helmets ?
We also offer a Kali helmet with metal grill and a MSF combat helmet, Behourd. Their more open grille provides better ventilation and visibility. They cater to very specific practices. : the second is specifically designed for HEMA and training in buhurt with foam weapons.
Their openings require compatible simulators, whose shape and width prevent passage through the grid. Some foam swords may be suitable within the framework intended by the manufacturer; "Foam" alone is not enough to validate equipment. The guidelines for our range exclude thrusting combat, meaning strikes delivered with the point.
For regular HEMA sparring at theArming sword, It seems like your message is incomplete. Could you please provide the full text you would like translated?Longsword, It seems like your message is incomplete. Could you please provide the full text you would like translated?Sidesword or for the rapier, you exclusively need a suitable fencing mask, with the necessary additional protections. Open grid helmets do not replace it in these uses.
Between Practitioners
Can we help you choose or adjust your mask ?
Are you unsure between two sizes, want to understand the level required for a tournament, or is your mask bothering you with your glasses? Provide us with the reference, your measurement, and details of your practice. We will help you sort it out.
For your first order: New customers receive a 5% discount. Contact us for the details.
History is practiced.
Practice tips, range features, and photos: Faits d’Armes. Additional references: FFAMHE recommendations, , mask inspection and British Fencing fitting advice. Check the manuals of your equipment and the requirements of your club or event.