


Whether you want to bring a touch of personality to your equipment, divert your opponent's attention or simply differentiate your equipment, mask customization is an increasingly common trend. Initiated by modern fencing where it is still debated, it was very quickly adopted by HEMA practitioners where the rules are more flexible. We hope this step by step tutorial will help you create a lasting and successful customization of your equipment.
Reminder: this tutorial explains how to paint your mask with a monochrome pattern using a stencil. If you want to make a painting with several shades of color, another tutorial is available
SEE THE ADVANCED TUTORIAL (PAINTING)
How to paint a fencing mask with stencil technic
Material :
- A pencil or marker
- 2 A4 sheets
- Wide masking tape (paint department)
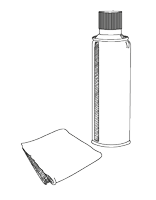
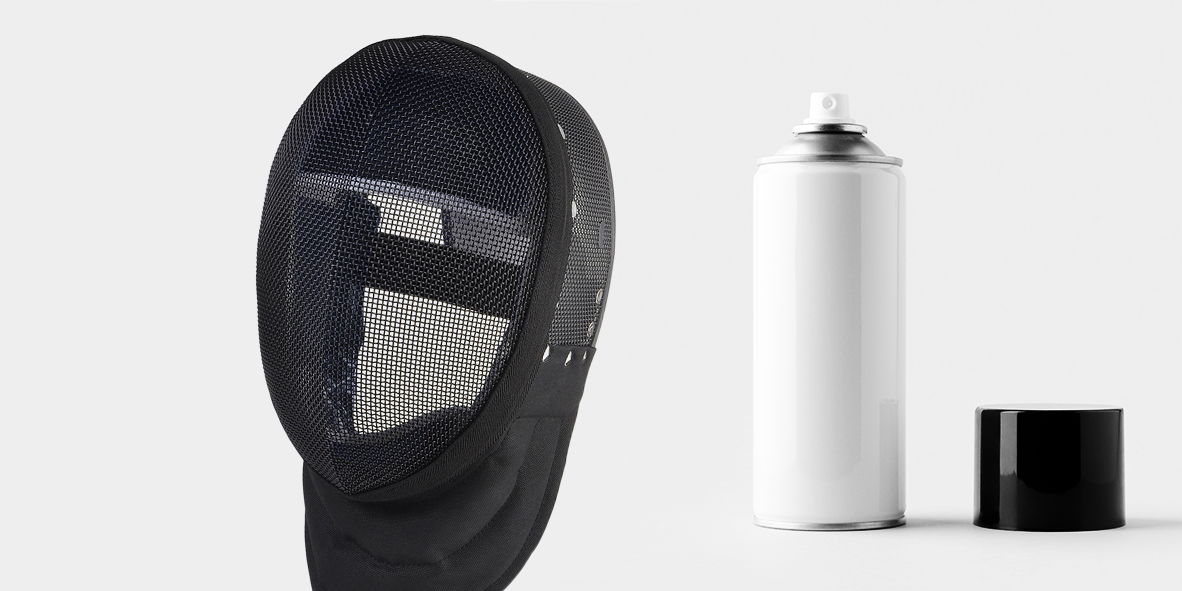
- Spray paint for any surface
- Cutter (bonus: scissors)
- Your fencing mask
- A good dose of inspiration ^^
/001.jpg)
1. Preparation
At first, find a good inspiration and reproduce it on paper by adjusting the elements to a form of fencing mask.
Remember at this point that the shape of the mask being curved, you will have to adapt your drawing a little.
Also checked at this time that your chosen shape is easily adaptable as a stencil (2 clearly demarcated colors with no shade of color).
/002.jpg)
/003.jpg)
2. Making the stencil
Lay the masking tape in two layers, one vertical and one horizontal. This is what will allow us to create our stencil.
/006.jpg)
Once the ribbon is laid, make yourself a grid of reference. The unusual shape of your mask may cause you to miss your symmetry and proportion.
/004.jpg)
Draw your shape on your mask using the guide grid. Once your drawing is ready, you can go over the good lines with a marker to make it easier for you to read while cutting.
/005.jpg)
Carefully cut out your stencil keeping the tape where it will stay black! (it's a negative that you make, be careful the error of inverting the colors happens quickly)
/007.jpg)
3. Painting
Remove or protect the reinforcements in your mask beforehand to avoid getting them dirty. Slip an A4 sheet into your mask to finish protecting the inside.
/010.jpg)
Spray paint your mask. Be careful, don't be too generous, the paint must not clog holes by making heaps (you must be able to see from the inside).
/009.jpg)
Take it easy and wait about 15 minutes when finished, then remove the tape to admire your work.
/008.jpg)
PS: a big thank you to Michel Vollaro for his help and the photos of his work
Leave a Reply Cancel Reply