


Whether you want to bring a touch of personality to your equipment, distract your opponent or simply differentiate your equipment, mask customization is an increasingly common trend. Initiated by modern fencing where it is still debated, it was very quickly adopted by HEMA practitioners where the rules are more flexible. We hope this comprehensive tutorial will help you create a lasting and successful customization of your gear.
Rappel : this tutorial shows you how to paint your mask with a detailed pattern using markers and paint. If you want to make a stencil painting with a single color, another tutorial is available
See the simplified tutorial (stencil)
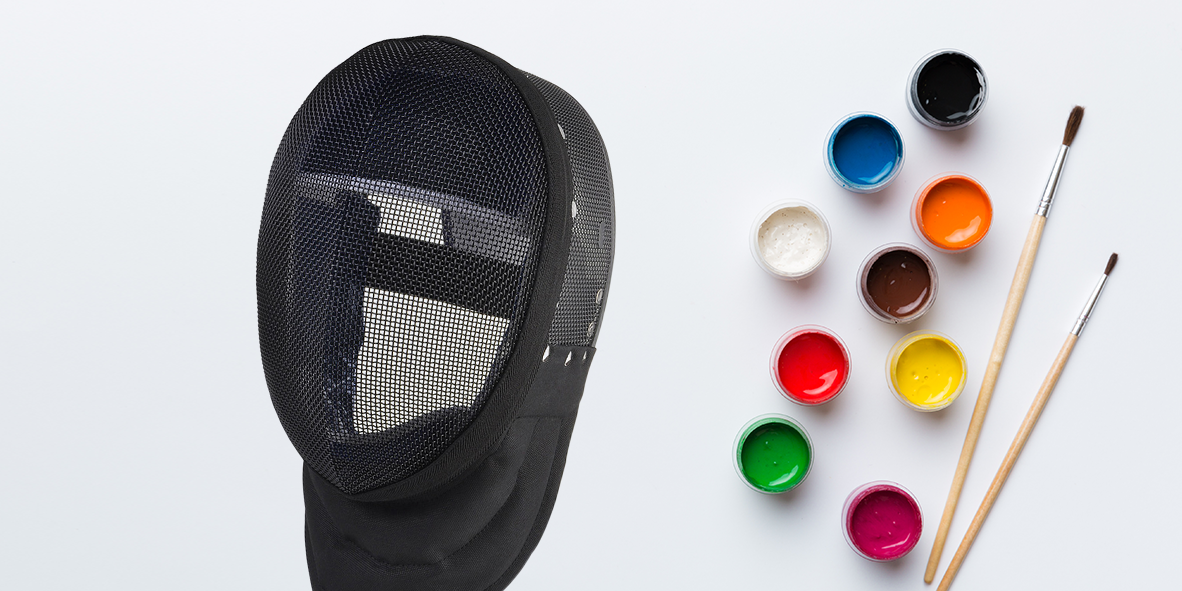
How to paint a fencing mask with acrylic paint
/acrylique.jpg)
This is the same paint that is used for scale model or miniature painting (ex: Game Workshop)
As for these models, the ranges of paints lend themselves very well to the exercise even if it requires a little more dexterity.
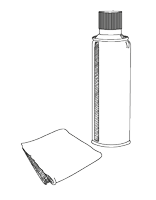
It works with water but cannot be erased once dry.
Advantages
- Allows much finer drawing work. You will have the possibility of making gradients and even techniques worthy of painting competitions.
- Almost infinite color range
- You can apply varnish to add protection and resistance to your drawing.
- It is possible to erase or rework your drawing using an old toothbrush and rubbing alcohol by putting a cloth against the grid from the inside to protect the mask.
- For the drawings on bocle, the paint also holds on the leather and its dye.
Drawback:
- Cannot be erased once dry
Examples of achievements with paint:
/Photo5.jpg)
/PhotoPE2.jpg)
/PhotoPE3.jpg)
Step by Step :
Start with the darkest background color, this will allow you to center your drawing and give it the right size.
Be careful to plan the space that the mask cover takes on the upper part, if you have one.
Do not hesitate to erase and start again if it does not go well, because it will be the whole base of construction of your drawing. (You can help yourself by preparing the drawing beforehand on a sheet of paper that you will present on the mask.)
/PhotoPA1.jpg)
Then go back to the intermediate backgrounds which give the relief and the depths by reducing the background areas as you go. Always with a lighter color than the previous one.
/PhotoPA2.jpg)
/PhotoPA3.jpg)
Then move on to the big elements of details, shading and highlighting/PhotoPA4.jpg)
/PhotoPA5.jpg)
/PhotoPA6.jpg)
Finish with the finer details and touch-ups
Be careful not to provide too small sizes that will be illegible on the grid.
/PhotoPA7.jpg)
/PhotoPA8.jpg)
PS : Thanks to Freerik Tracy for his advice and photos of his achievements
Leave a Reply Cancel Reply